Construction Companies Toronto: What to Expect
Introduction
Toronto’s ever-evolving skyline is no accident. From sleek residential towers to cutting-edge commercial spaces, this city’s transformation is fueled by an army of construction companies. Whether you’re planning to build a home, remodel a kitchen, or develop a commercial project, choosing the right construction partner in Toronto can be the defining factor in your project’s success. As construction companies Toronto continue to diversify, understanding what to expect from them becomes more important than ever.
In this blog, we’ll guide you through everything you need to know about construction companies in Toronto—from services offered and industry standards to selecting the right contractor. By the end, you’ll be well-equipped to make informed decisions, reduce risks, and secure optimal outcomes. If you’re already seeking expert guidance, don’t hesitate to explore CozyCasa’s construction services. Let’s begin.
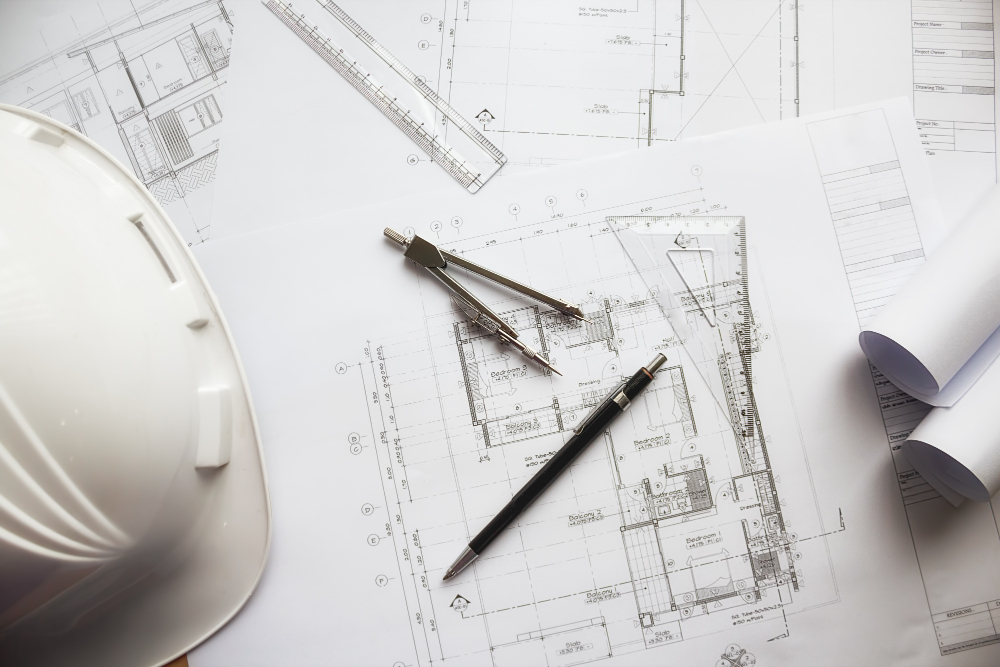
Things to Know Before Hiring a Construction Company in Toronto
Toronto is a bustling hub for real estate and infrastructure, and this complexity trickles down to the construction industry. Before diving into hiring, understanding the market and regulatory environment is essential. Below are the key elements you should know before choosing a contractor.
Licensing and Regulations in Toronto
Toronto’s construction industry is tightly regulated. Contractors must be licensed and insured to comply with provincial and municipal standards. The Building Code Act and municipal bylaws govern various aspects, from zoning to safety protocols.
A licensed contractor ensures compliance, reducing risks of penalties or shutdowns. Ensure the firm holds a valid license with the Ontario College of Trades or equivalent authority. This demonstrates professionalism and guarantees the contractor is up-to-date with evolving standards.
Types of Services Offered
Construction companies in Toronto typically offer a wide range of services, including general contracting, design-build, renovation, custom home building, and project management. Some may specialize in commercial, while others focus on residential construction.
Understanding the company’s core competencies ensures alignment with your project goals. For instance, a company skilled in luxury home builds may not be the best fit for a commercial warehouse renovation. Match the company’s strengths to your unique requirements.
Cost Structures and Payment Plans
Transparent pricing is a hallmark of a reputable contractor. Companies in Toronto often work on fixed bids, cost-plus contracts, or time-and-material models. Each has advantages depending on your budget flexibility and project scale.
A fixed bid offers predictability but may come with a premium buffer. A cost-plus model is more flexible but requires rigorous tracking. Always request a detailed quote and establish a payment schedule aligned with project milestones.
Project Timelines and Delays
Delays are common in construction due to weather, supply chain issues, or unforeseen complications. A trustworthy construction company will set realistic timelines and communicate proactively if delays arise.
Ask for past project timelines and references to assess reliability. A track record of on-time completion is a strong indicator of efficient project management. Additionally, ensure contingency plans are in place for unexpected interruptions.
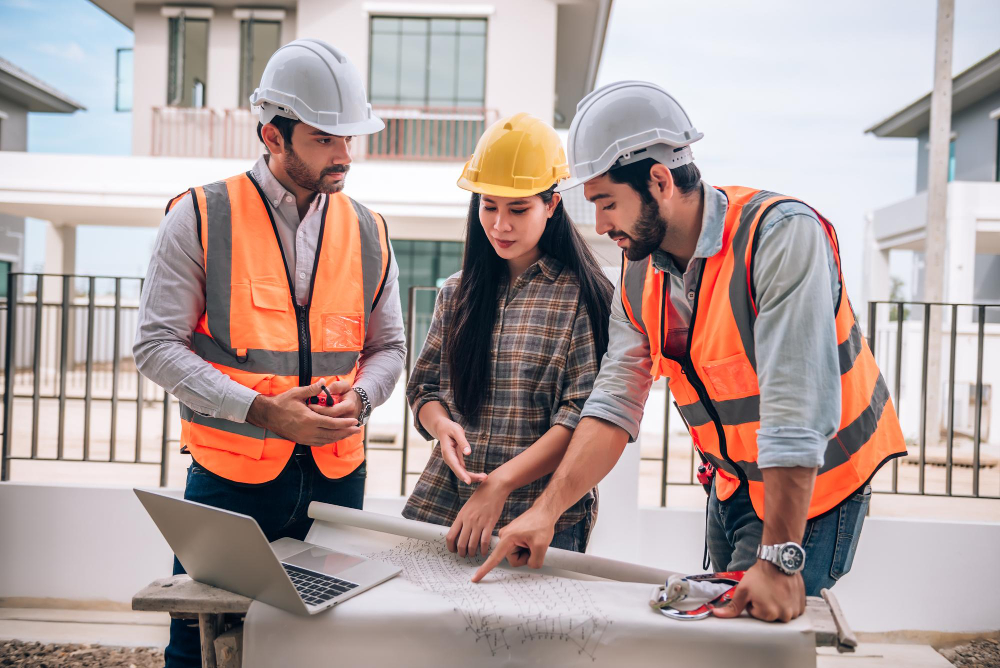
Communication and Customer Service
Effective communication is vital throughout a construction project. Toronto-based companies are increasingly using client portals, apps, and regular site meetings to ensure seamless updates.
Evaluate how responsive and clear the company is during the consultation phase. Do they answer your questions with confidence? Are their proposals detailed? Great customer service early on is a good predictor of continued support through to project completion.
What to Expect from Toronto Construction Companies
Toronto’s top construction companies maintain high standards. Understanding their workflow and services will help you set realistic expectations.
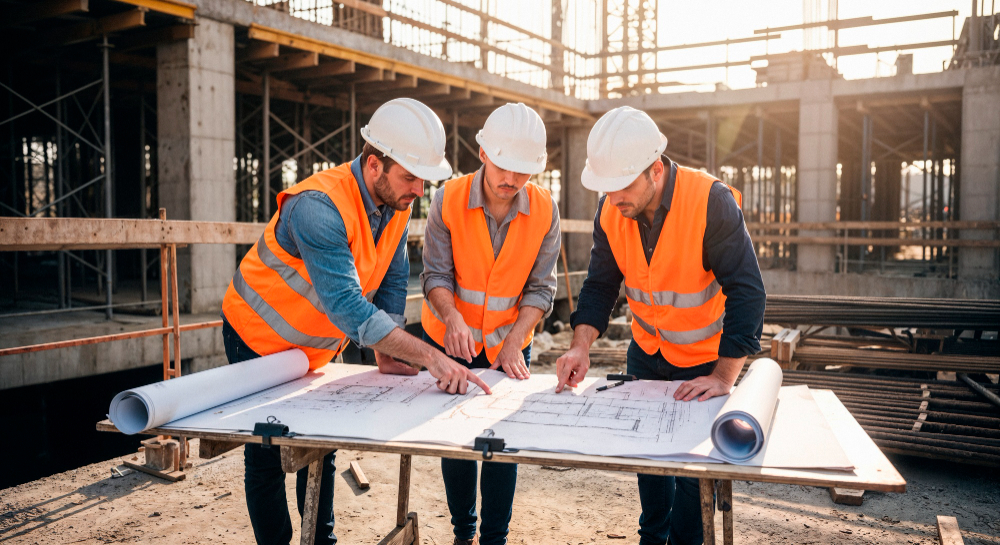
Initial Consultation and Site Visit
Most companies begin with an in-depth consultation and site visit to understand your vision and assess feasibility. They analyze your space, zoning restrictions, and structural conditions.
Expect thorough discussions about your budget, timeline, and desired outcomes. Some firms offer 3D renders or concept drawings even before the contract is signed, giving you clarity on the project scope.
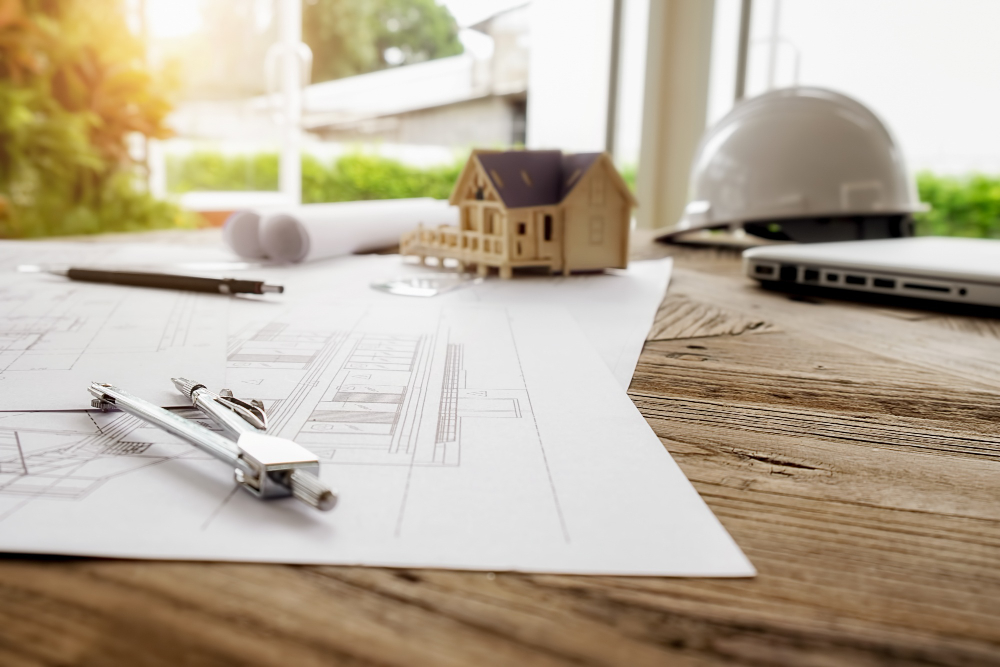
Detailed Project Planning
After the initial consultation, the planning phase involves finalizing designs, securing permits, and outlining timelines. This phase can take weeks depending on complexity.
Expect the contractor to coordinate with architects, engineers, and city inspectors. Detailed documentation and planning at this stage reduce risk and keep the project running smoothly.
Transparent Contract Agreement
A reputable company will present a detailed contract outlining scope of work, payment terms, deadlines, and responsibilities. Contracts should also include clauses for conflict resolution and unexpected cost changes.
Always read the contract thoroughly and clarify uncertainties. If a contractor is reluctant to provide written agreements, consider it a red flag.
Construction Phase and Supervision
Once construction begins, the contractor should provide regular updates and site access. Project managers supervise all activities, ensuring compliance with code and design specs.
Toronto companies often use progress tracking tools and digital dashboards to keep clients informed. Make sure your contractor offers weekly or biweekly check-ins for consistent communication.
Final Walkthrough and Handover
The project concludes with a final walkthrough to identify touch-ups or deficiencies. Only after your approval will the contractor initiate the final handover.
Expect documentation like warranties, as-built drawings, and maintenance instructions. A reliable company ensures you’re satisfied before considering the job complete.
Why Choose CozyCasa for Your Toronto Construction Project?
CozyCasa isn’t just another construction company in Toronto. They offer a personalized approach, integrating modern technology with traditional craftsmanship. Their team handles everything from conceptualization to execution, ensuring your project reflects both functionality and style.
With full-service offerings—from renovation and design-build to project management—CozyCasa caters to homeowners and businesses alike. Their transparent communication, licensed professionals, and track record of timely project completion set them apart. Learn more about CozyCasa’s unique approach.
Conclusion
Choosing among the many construction companies Toronto has to offer can be overwhelming, but knowing what to expect makes the process manageable. From licensing and planning to customer service and execution, understanding each phase is crucial to your project’s success. Toronto’s construction scene is competitive and diverse, but aligning your goals with the right contractor is the key to a smooth experience.
By partnering with a reliable company like CozyCasa, you benefit from a client-centric process, expert craftsmanship, and a stress-free project lifecycle. For more information or to book a consultation, visit https://cozycasa.ca/.
FAQs
- What services do construction companies in Toronto typically offer?
They offer general contracting, custom homes, renovations, design-build, and commercial construction services. - Are construction companies in Toronto licensed?
Yes, reputable companies are licensed by the Ontario College of Trades and follow provincial building codes. - How do I verify a contractor’s credentials in Toronto?
Ask for their license number and check reviews, portfolios, and past client references. - What are common pricing models for Toronto contractors?
Fixed-price, cost-plus, and time-and-materials are the most common. - Can I make design changes after construction has started?
Yes, but it may affect your timeline and budget. Discuss flexibility in advance. - How long do typical projects take in Toronto?
Timelines vary: home renovations may take weeks, while custom builds can last months. - What’s included in a standard construction contract?
Details on scope, payment schedule, timeline, materials, and dispute resolution. - What should I expect during a final walkthrough?
You’ll inspect the work, note deficiencies, and receive necessary documentation. - Is it safe to hire a smaller or new construction company?
Yes, if they’re licensed, insured, and transparent about their process and experience. - How do CozyCasa’s services differ from others?
They offer a highly personalized approach, transparency, and full-spectrum services across residential and commercial sectors.